
Welcome to the Halo Series Introduction and Setup Guide! This page will walk you through the simple setup process and a short description of your new Halo product and provide helpful tips for optimal use.

Introduction
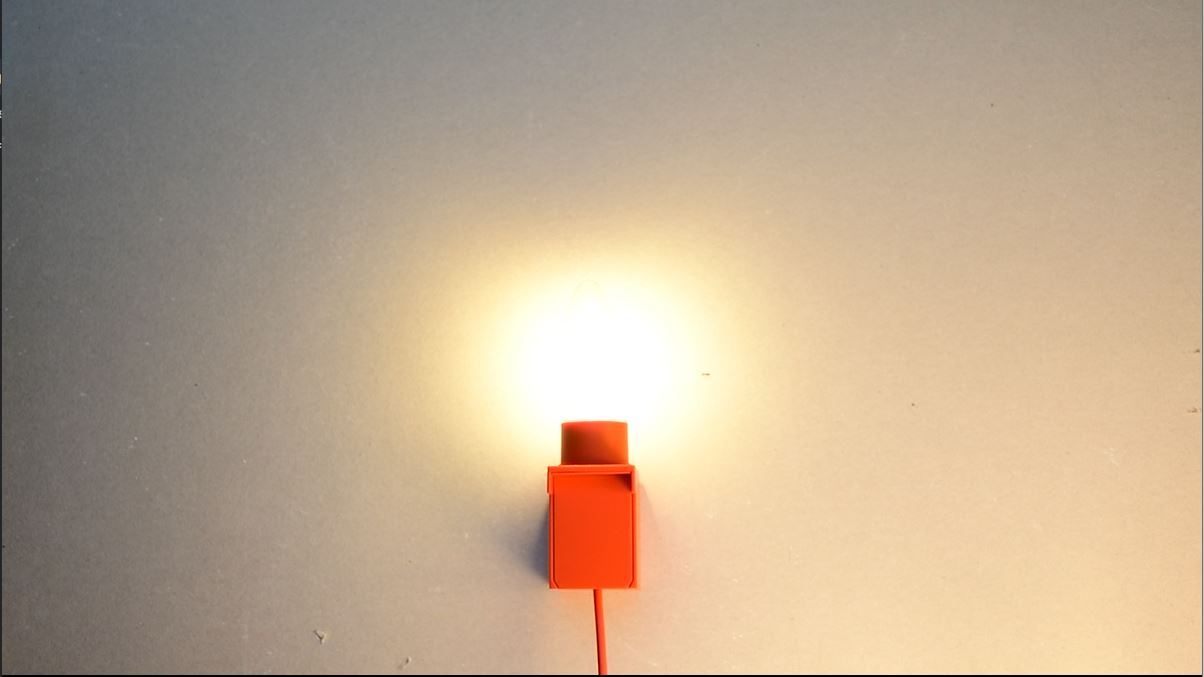
Halo is a striking minimalist 3D-Printed wall light fixture featuring a sleek E14 LED bulb holder. When lit, this modern wall sconce creates a captivating silhouette that mirrors the classic tungsten bulb, evoking a sense of nostalgia and timeless elegance. By simply routing the wires through the back of the fixture, you can achieve a sleek, clean look that's perfect for any modern space. This unique feature enhances the minimalist design while honoring the vintage charm of traditional light bulbs. Install it with the cable provided by plugging into a socket or as a traditional sconce for a versatile and elegant lighting solution.
Setup Guide
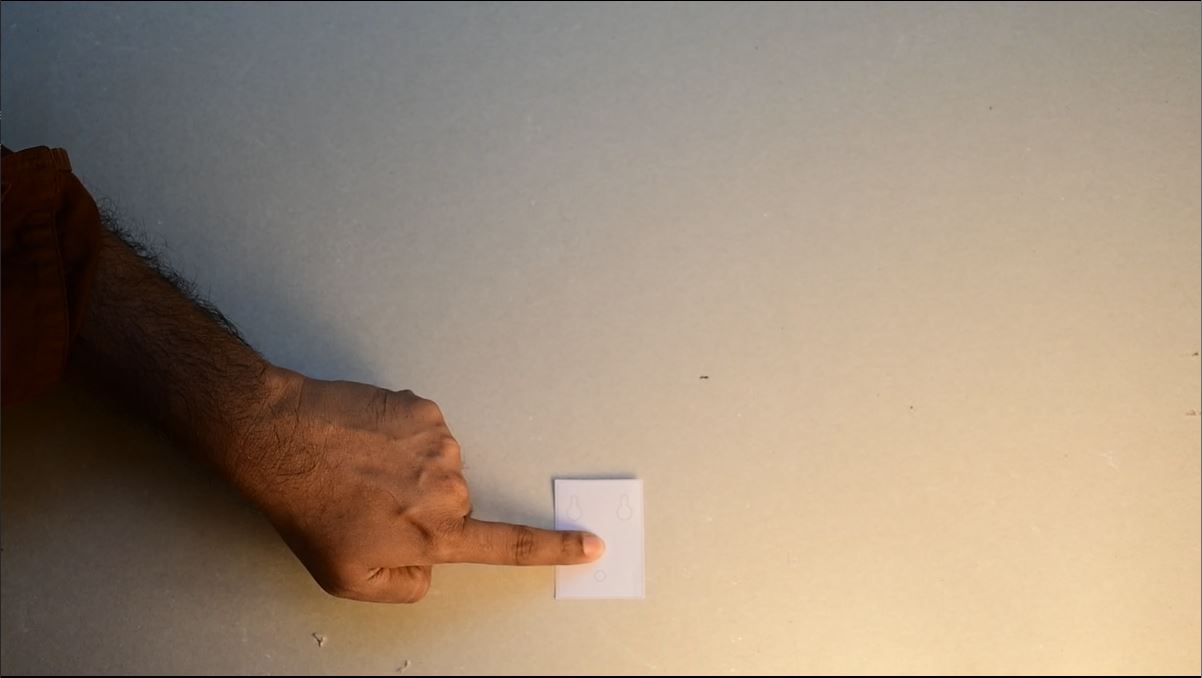
Step 1: Mark the location on Wall
Use the provided template as a guide to mark the screw locations on the wall.
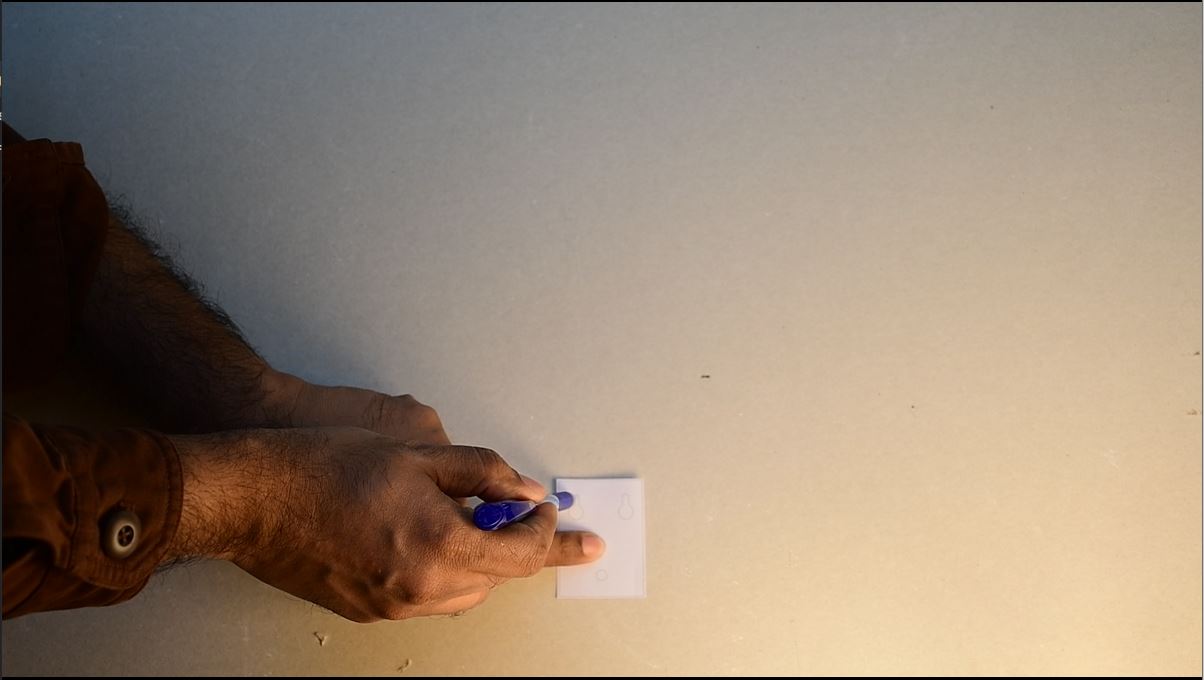
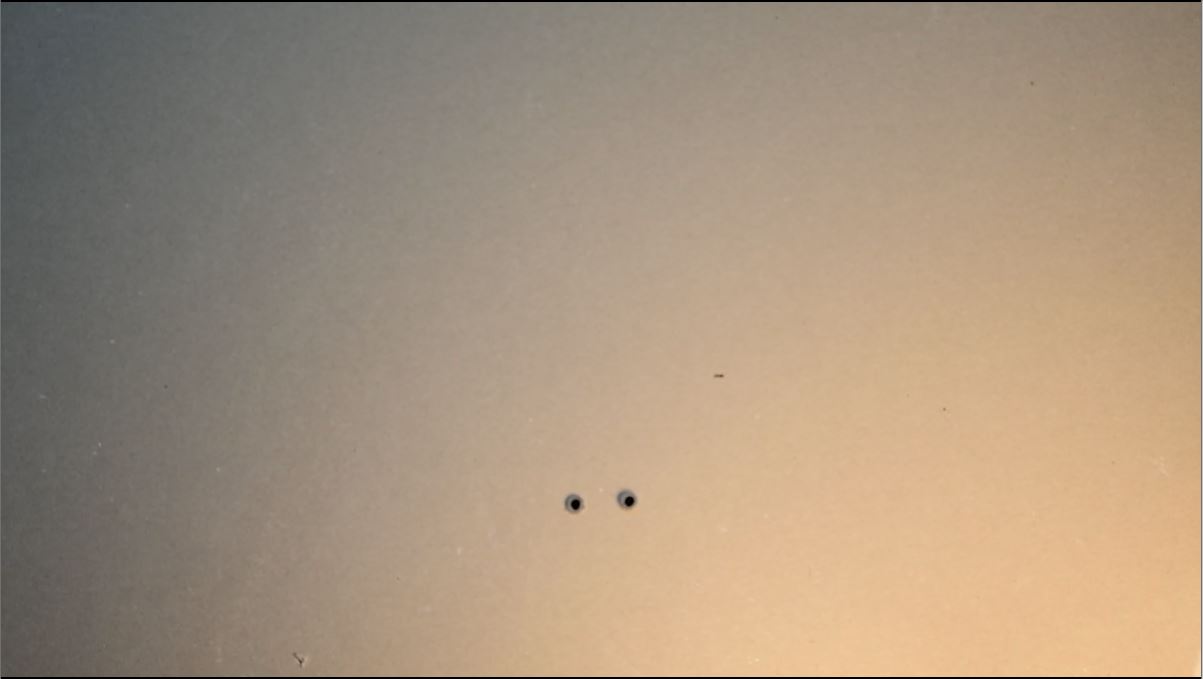
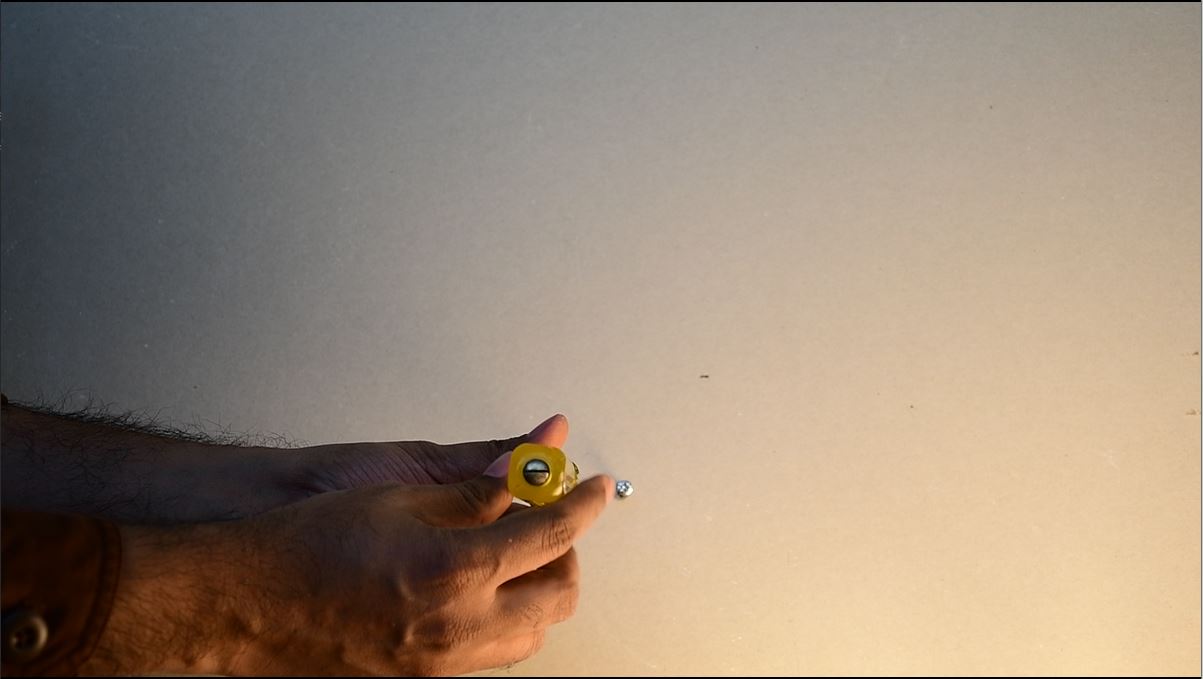
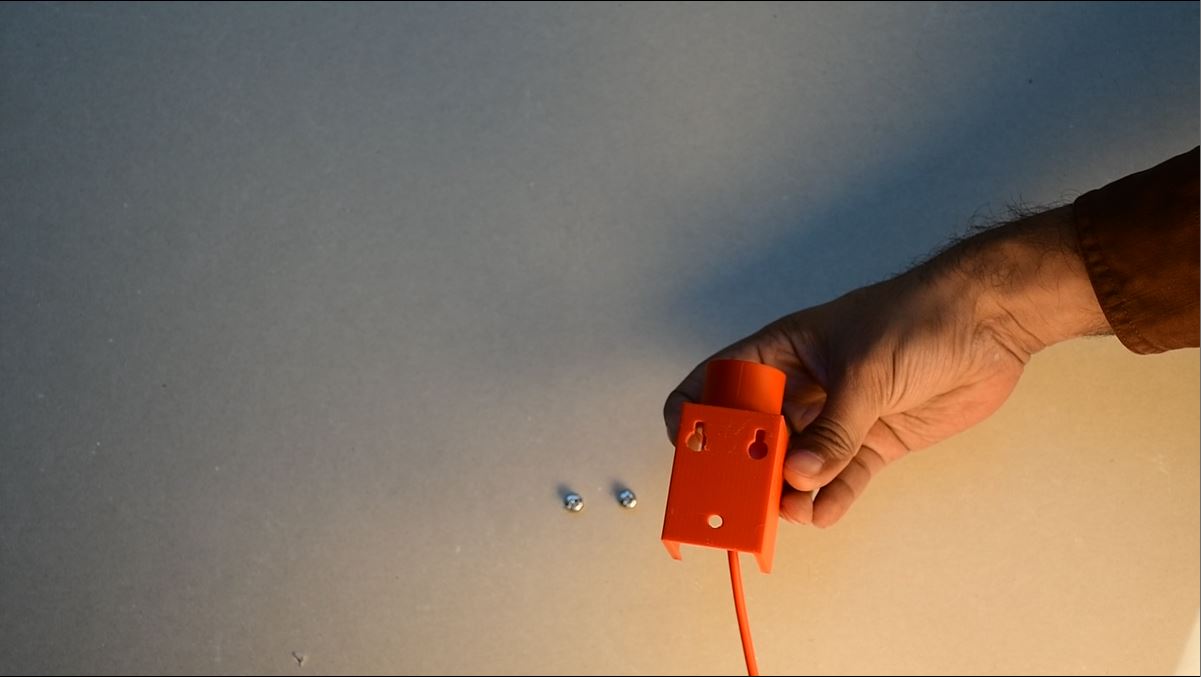
Step 2: Install the Screws
Carefully drill holes at the marked locations and insert the 9mm screws which are provided in the box itself.
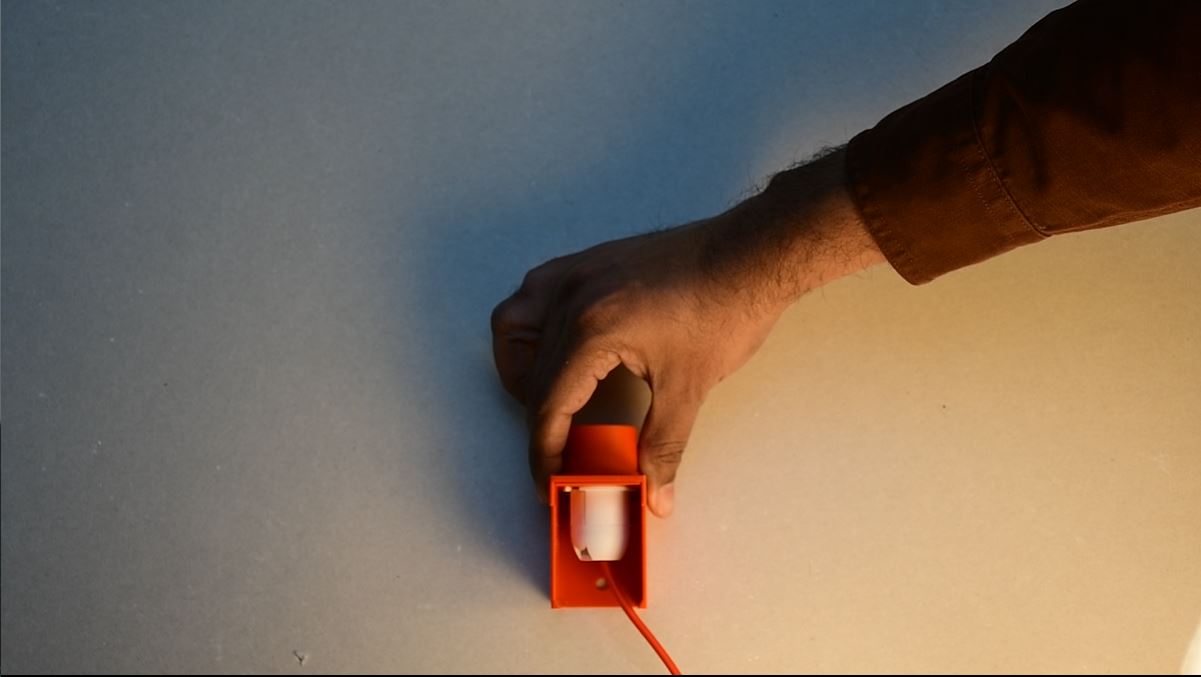
Step 3: Attach the Bulb Holder
Hang the Bulb Holder securely onto the screws and push it downwards to get locked in position. To remove, slide it upward.
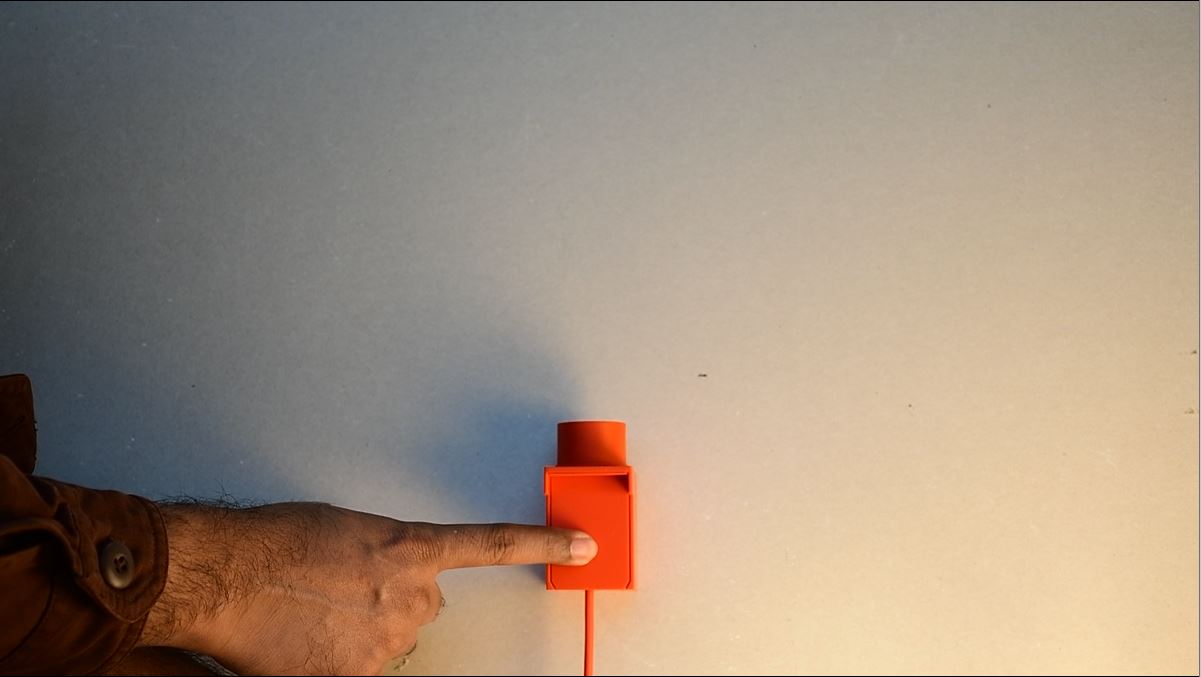
Step 4: Install the cover
Align the outer cover with the fixture and gently slide into position to cover the bulb holder as shown in the images.

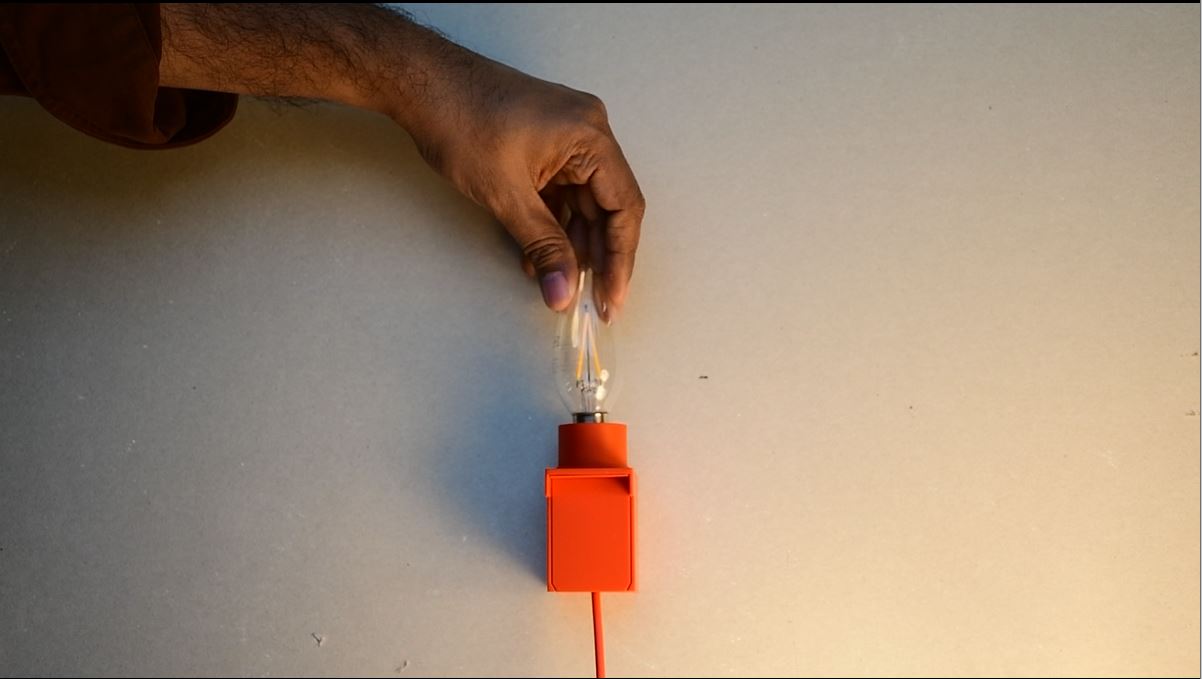
Step 5: Insert the bulb
Gently insert the included E14 LED bulb to the fixture.
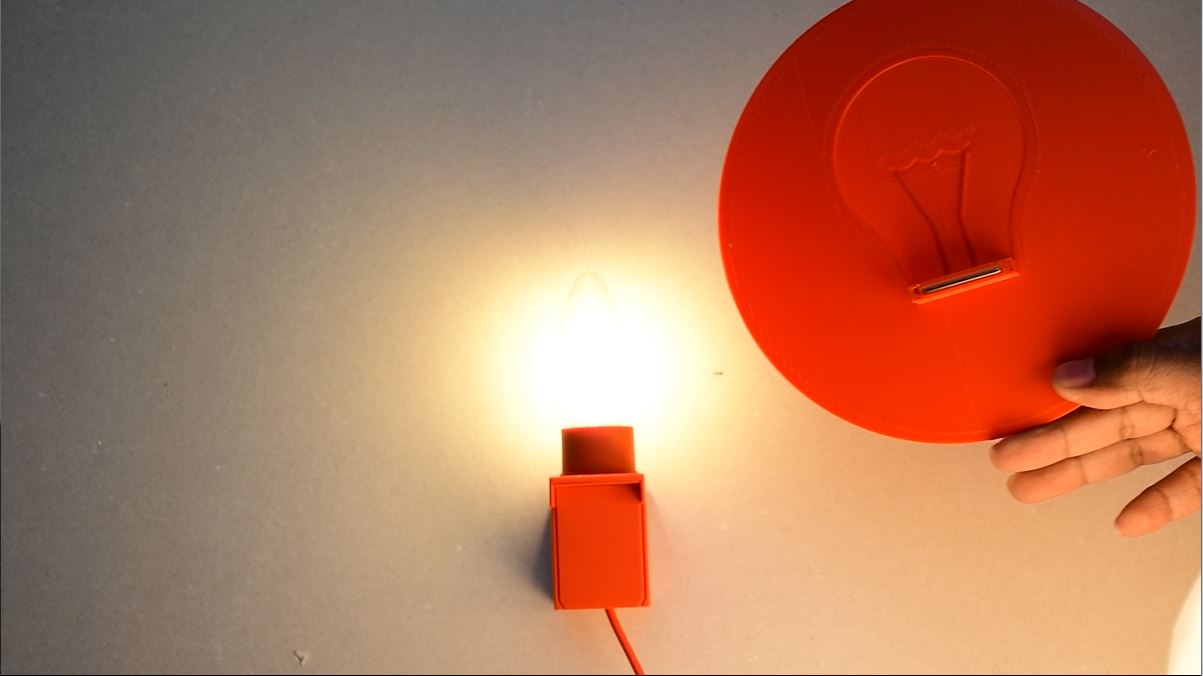
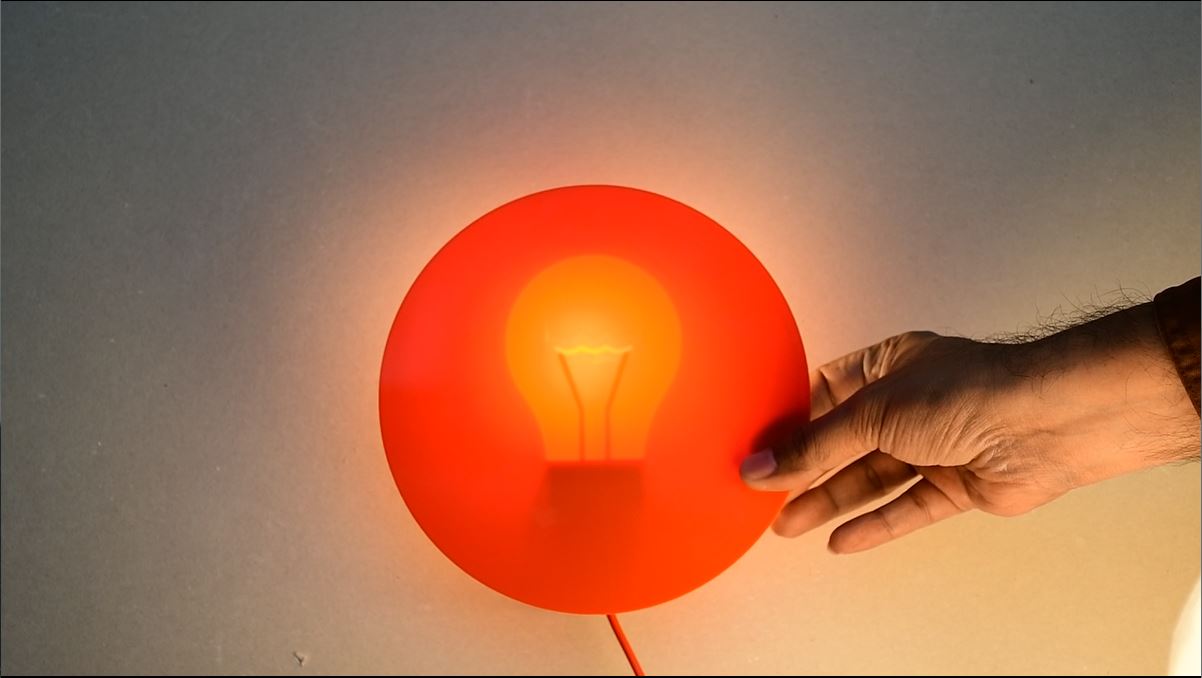
Step 6: Snap the disk on top of the fixture
After the bulb is inserted, snap the outer disk on to the Bulb holder.
End Notes
We hope the detailed guide provided has been helpful and informative.
For further help contact us at hello@onegoodobject.com