
Welcome to the Halo Duo Series Introduction and Setup Guide! This page will walk you through the simple setup process and a short description of your new Halo product and provide helpful tips for optimal use.

Introduction
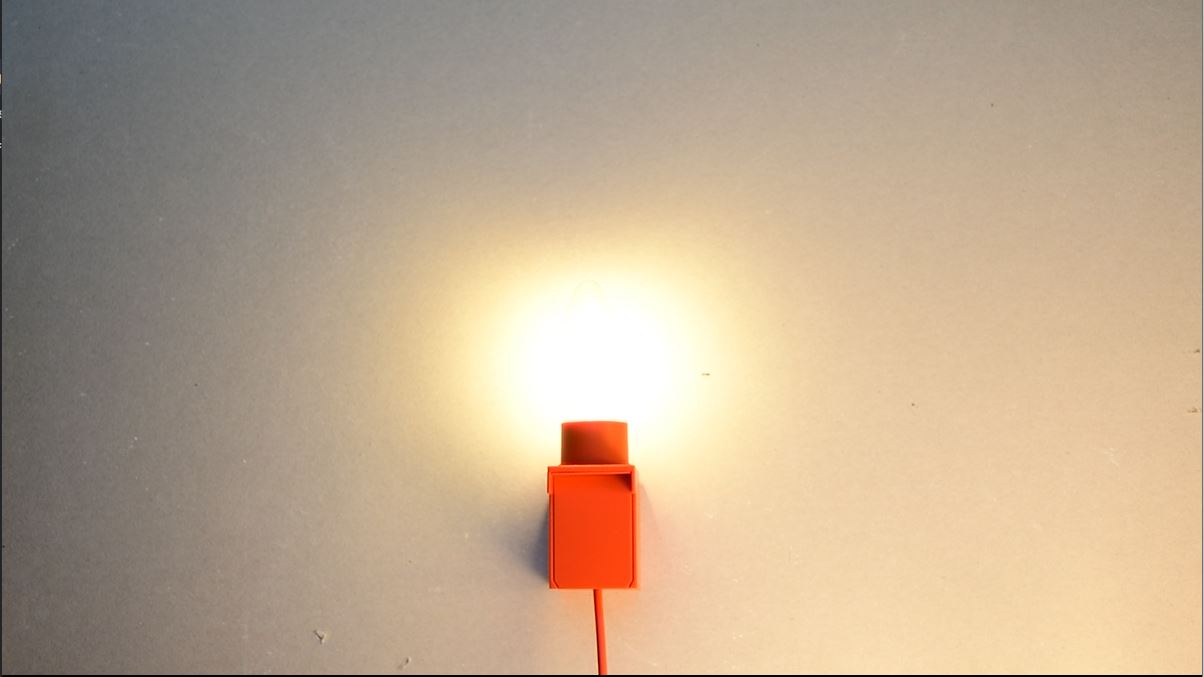
Halo Duo is a 3D Printed Designer wall lamp with replaceable shade which is as thin as a foil creates halo effect of light on the wall Crafted with precision, this decorative light features a replaceable shade engineered to create a mesmerizing halo effect on the wall. The shade, as thin as a foil, elegantly diffuses light, casting a soft and ethereal glow that adds depth and ambience to any space. Designed for versatility, the adjustable shade allows you to customize the intensity and direction of light, ensuring a tailored lighting experience to suit your preferences. With its innovative design and captivating illumination, this wall light is sure to elevate the aesthetic appeal of your interior décor while providing a warm and inviting atmosphere.
Setup Guide
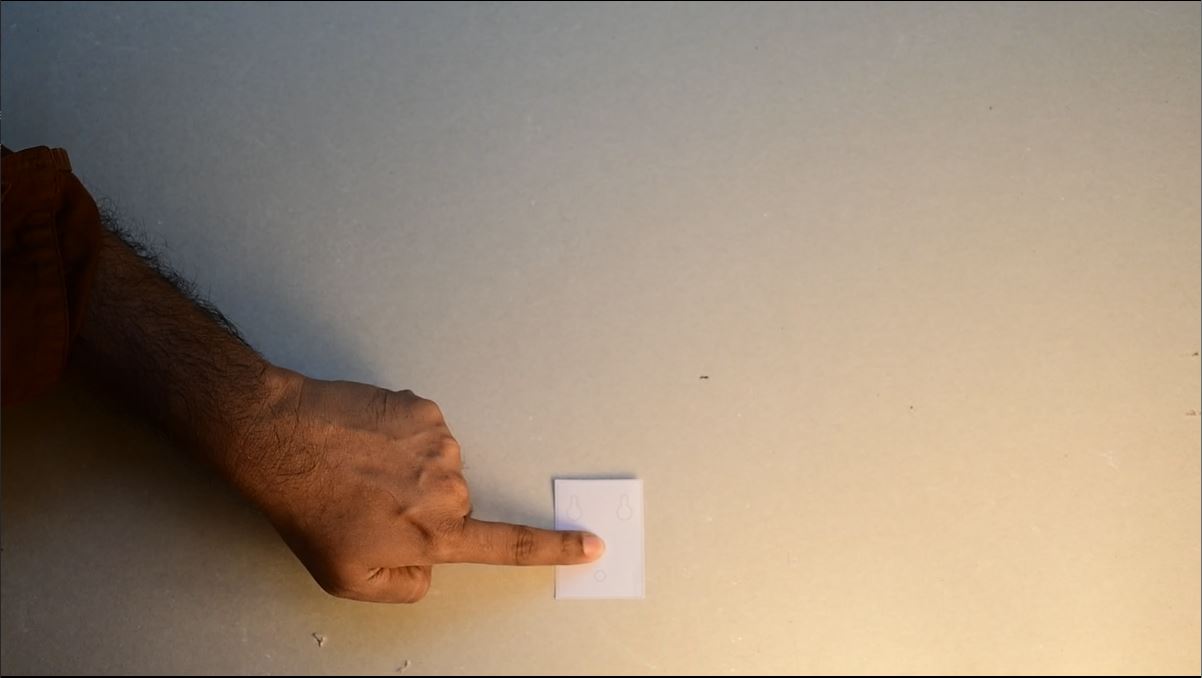
Step 1: Mark the location on Wall
Use the provided template as a guide to mark the screw locations on the wall.
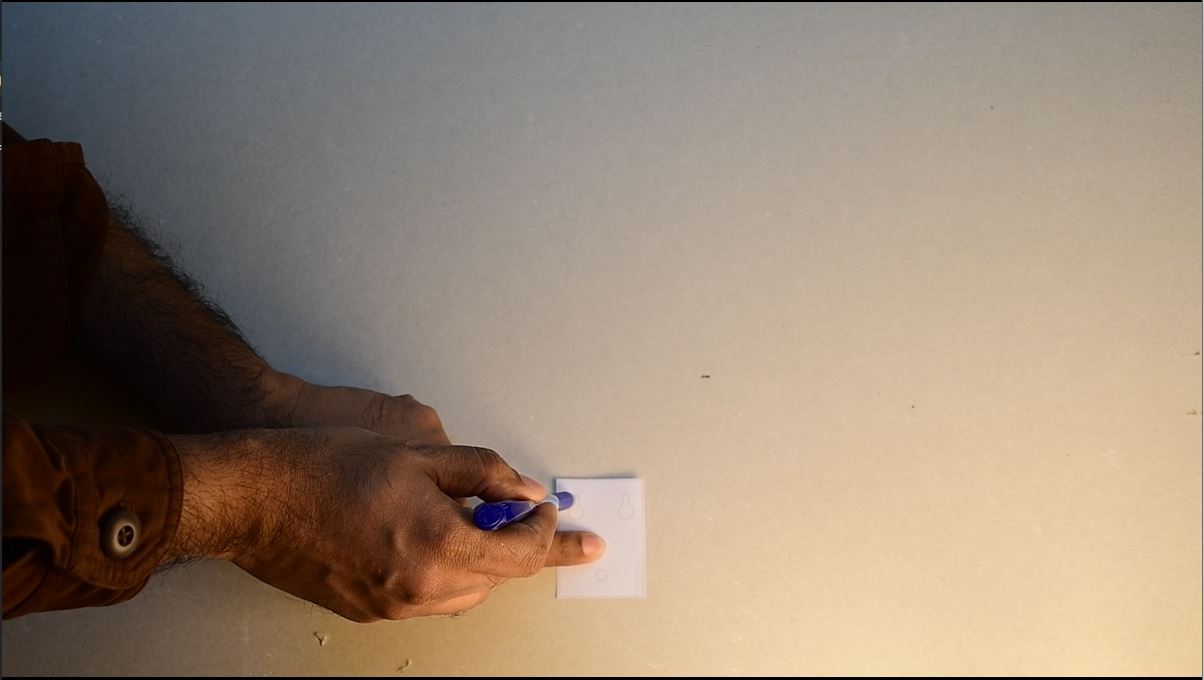
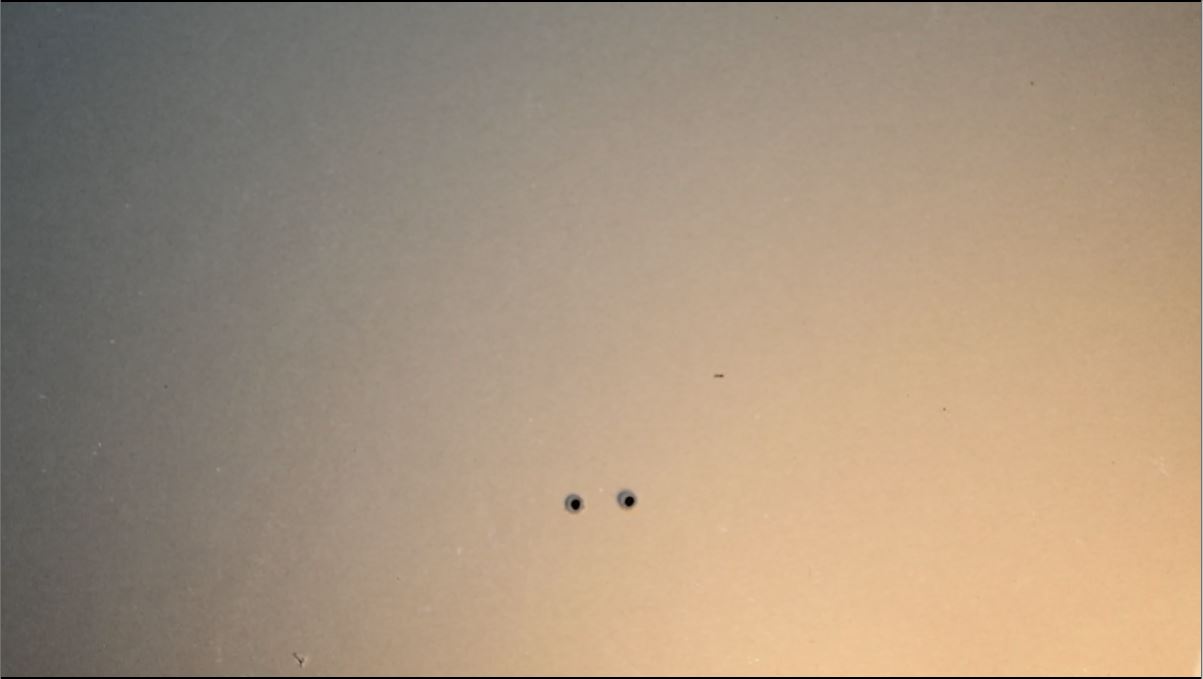
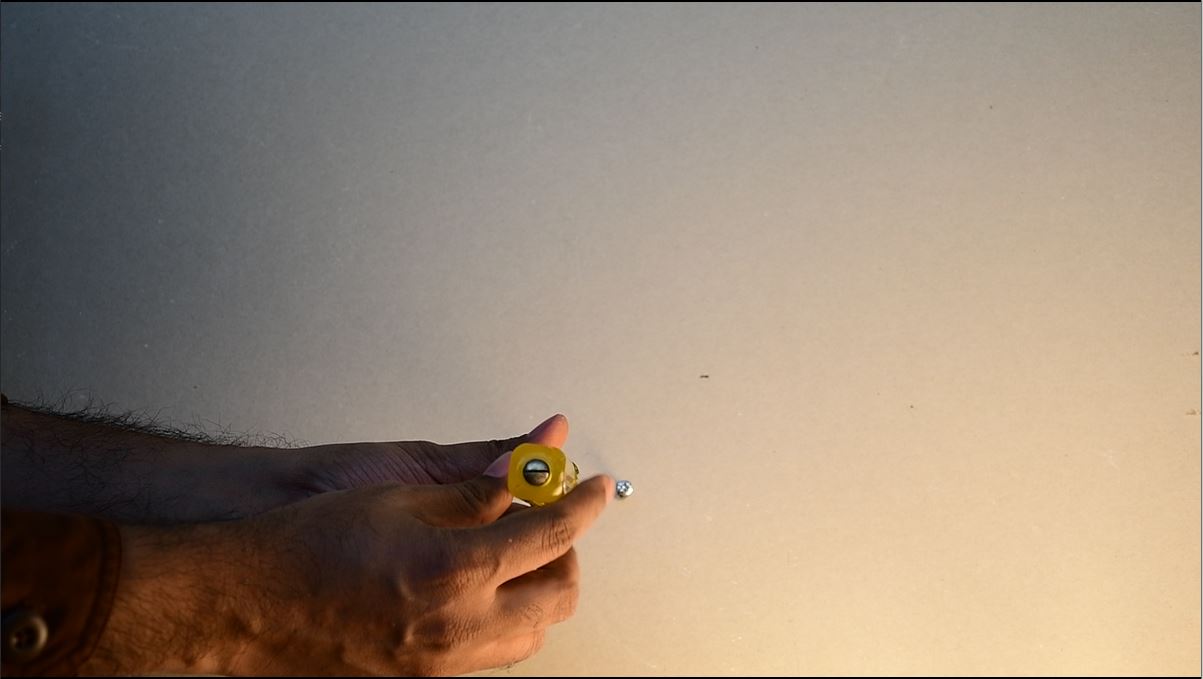
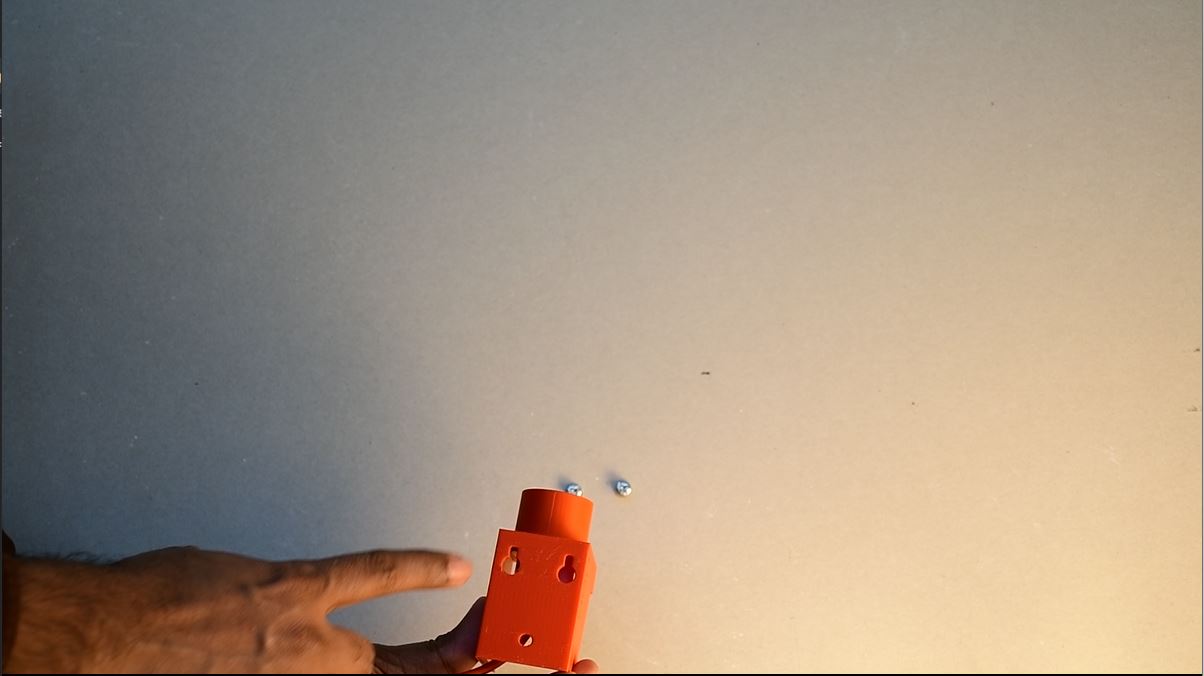
Step 2: Install the Screws
Carefully drill holes at the marked locations and insert the 9mm screws which are provided in the box itself.
Step 3: Attach the Bulb Holder
Hang the Bulb Holder securely onto the screws and push it downwards to get locked in position. To remove, slide it upward.
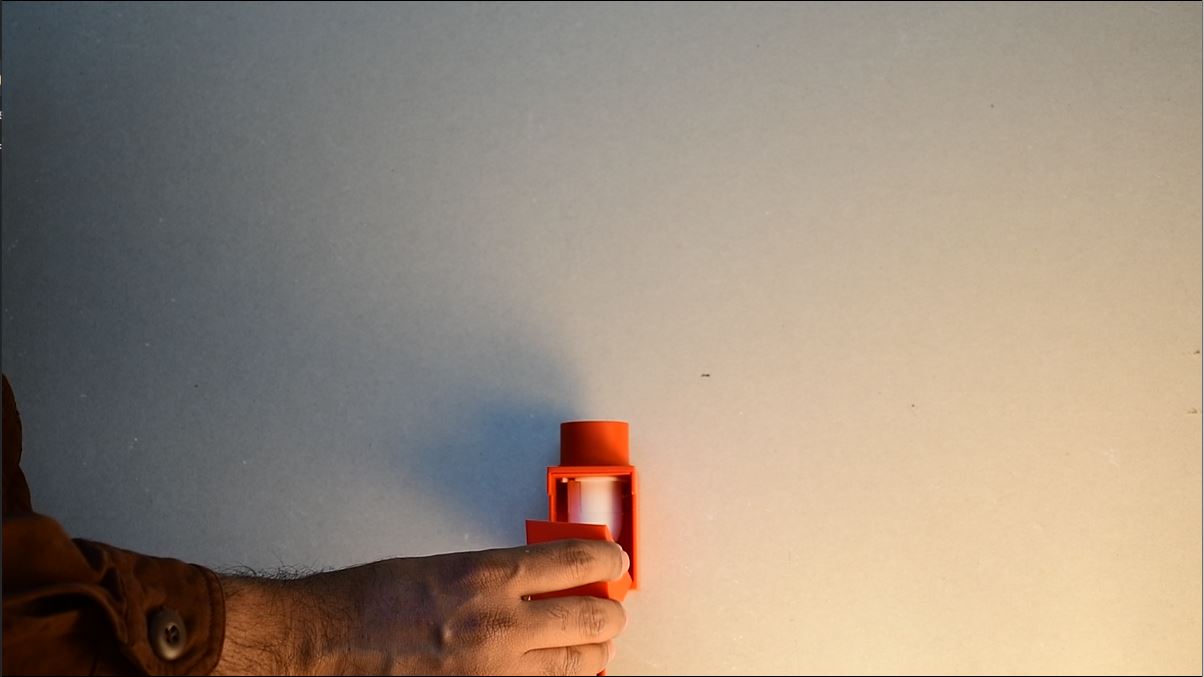
Step 4: Install the cover
Align the outer cover with the fixture and gently slide into position to cover the bulb holder as shown in the images.
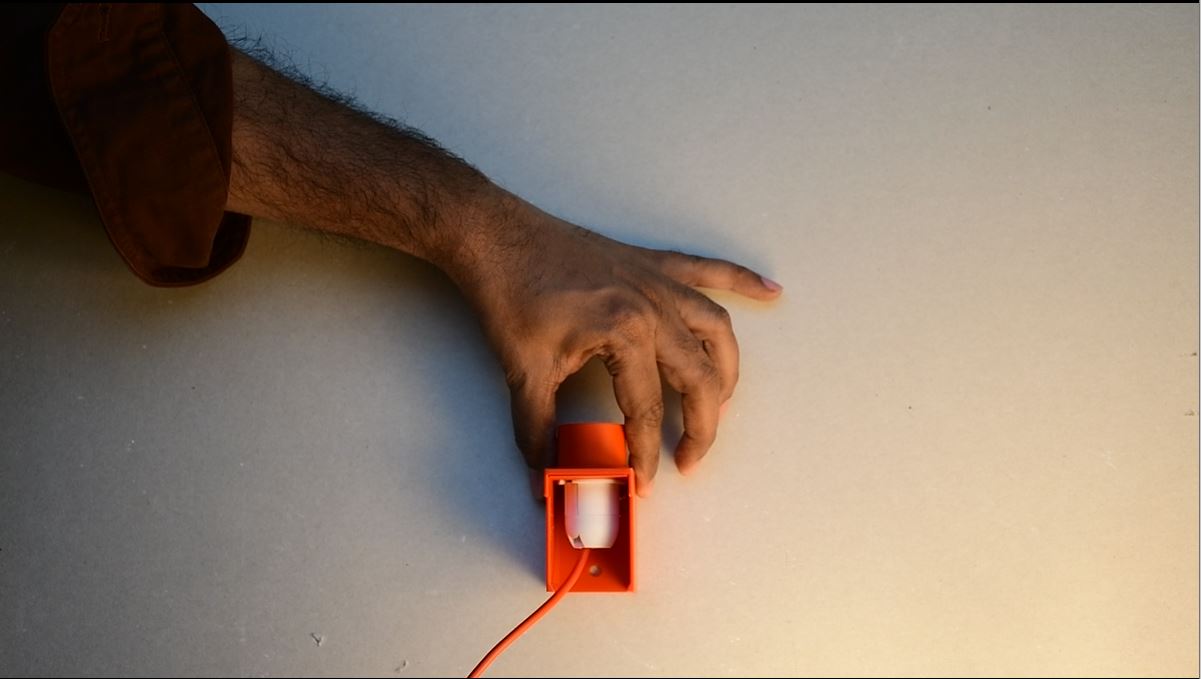
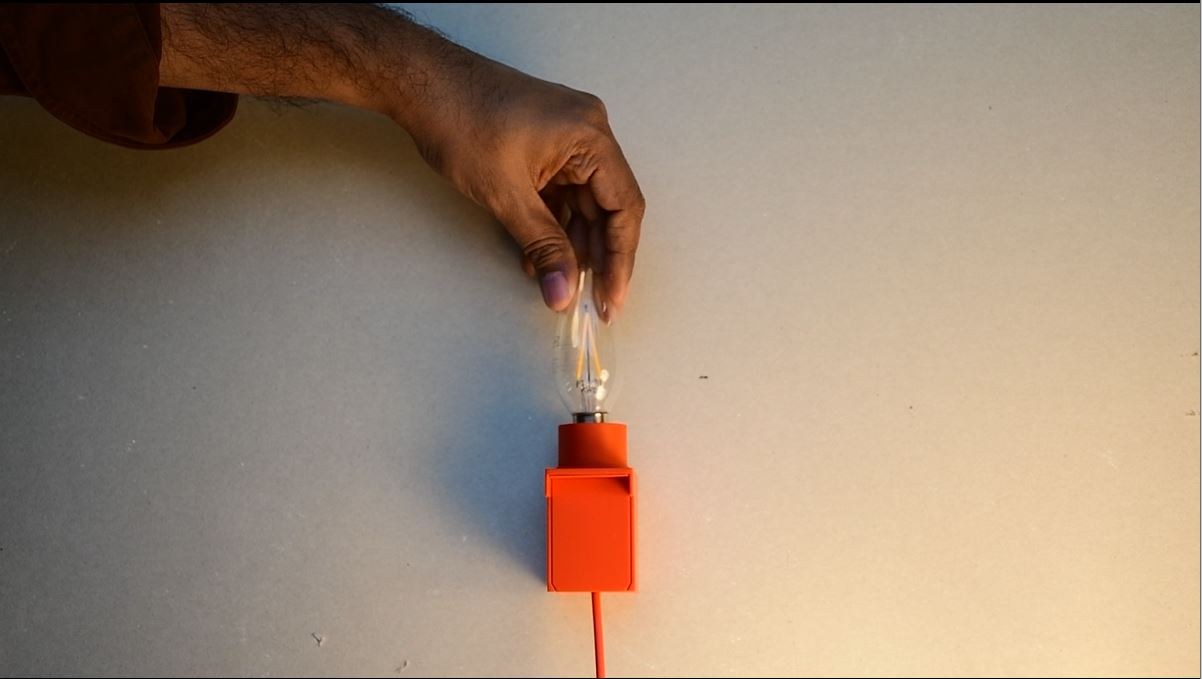
Step five : Insert the bulb
Gently insert the included E14 LED bulb to the fixture.
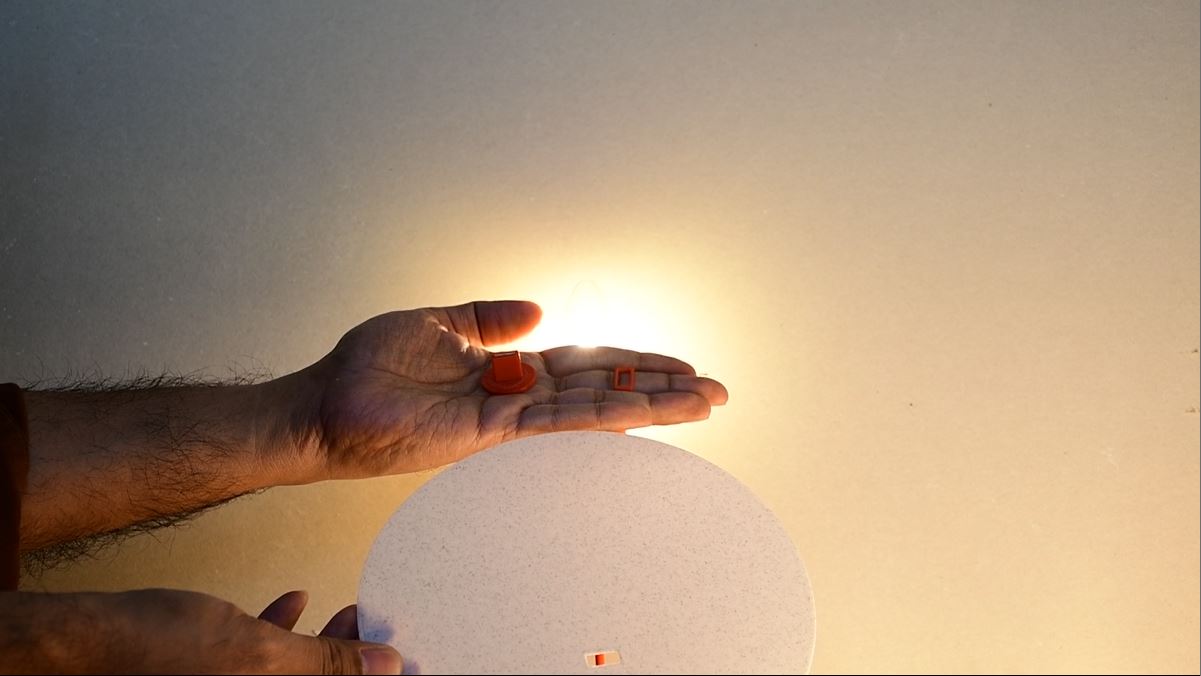
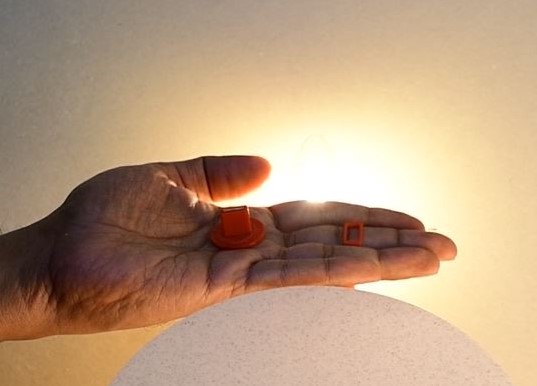
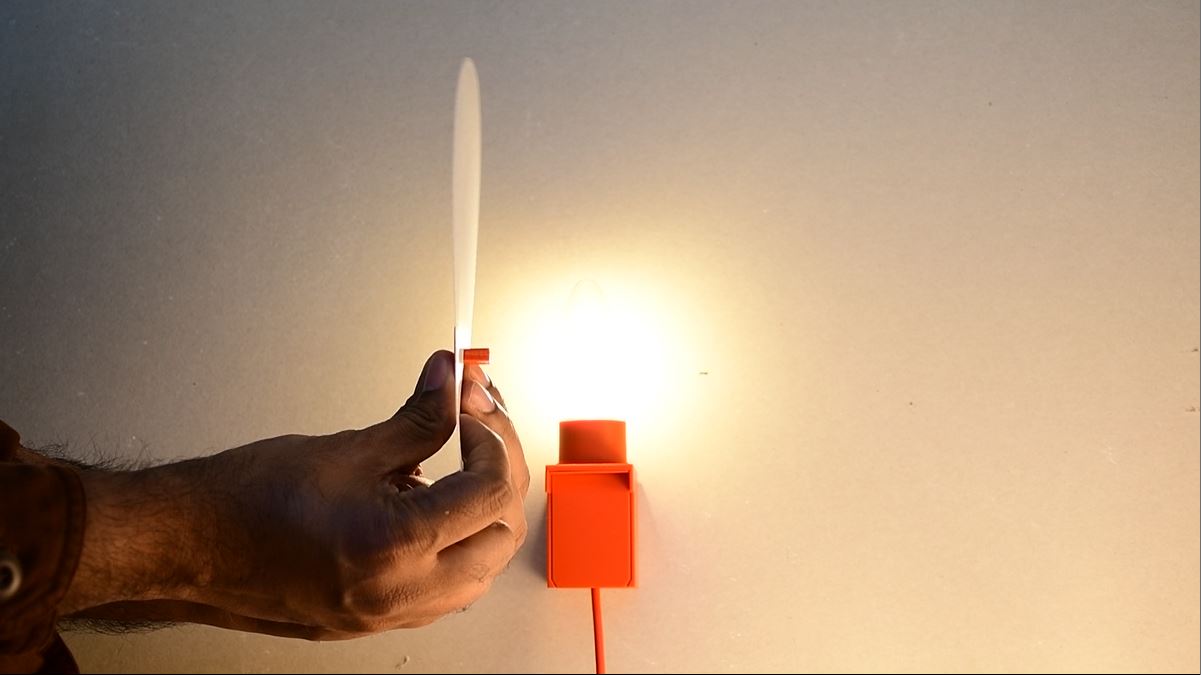
Step six : Insert the attachments
Fit all the attachments, punch the PAPER CLIP through the disk and attach the paper CLIP HOLDER from behind.
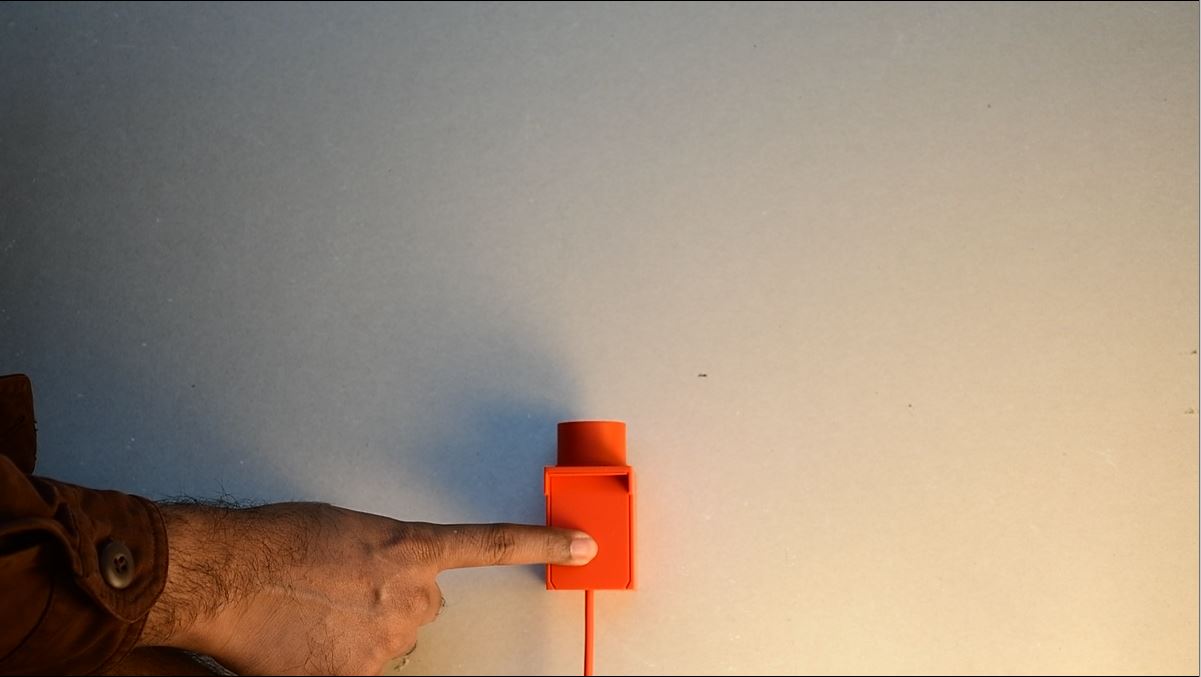
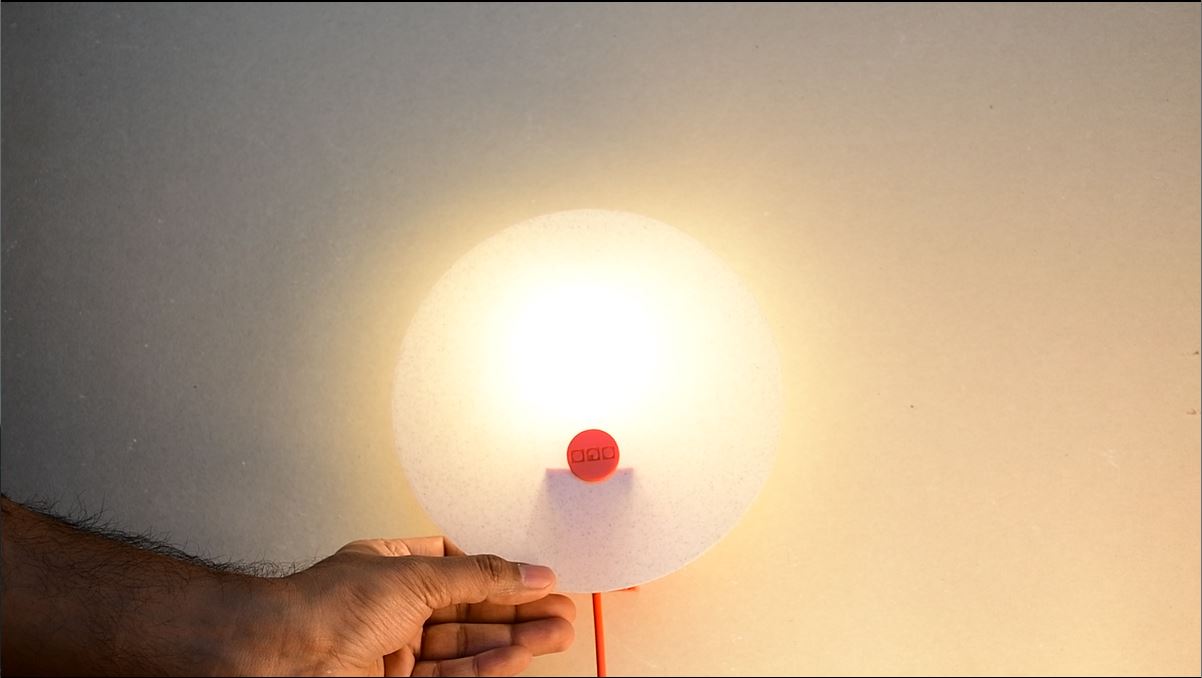
Step seven : Snap the disk on top of the Bulb Holder.
After the bulb is inserted, snap the outer disk on to the Bulb Holder.

End Notes
We hope the detailed guide provided has been helpful and informative.
For further help contact us at hello@onegoodobject.com